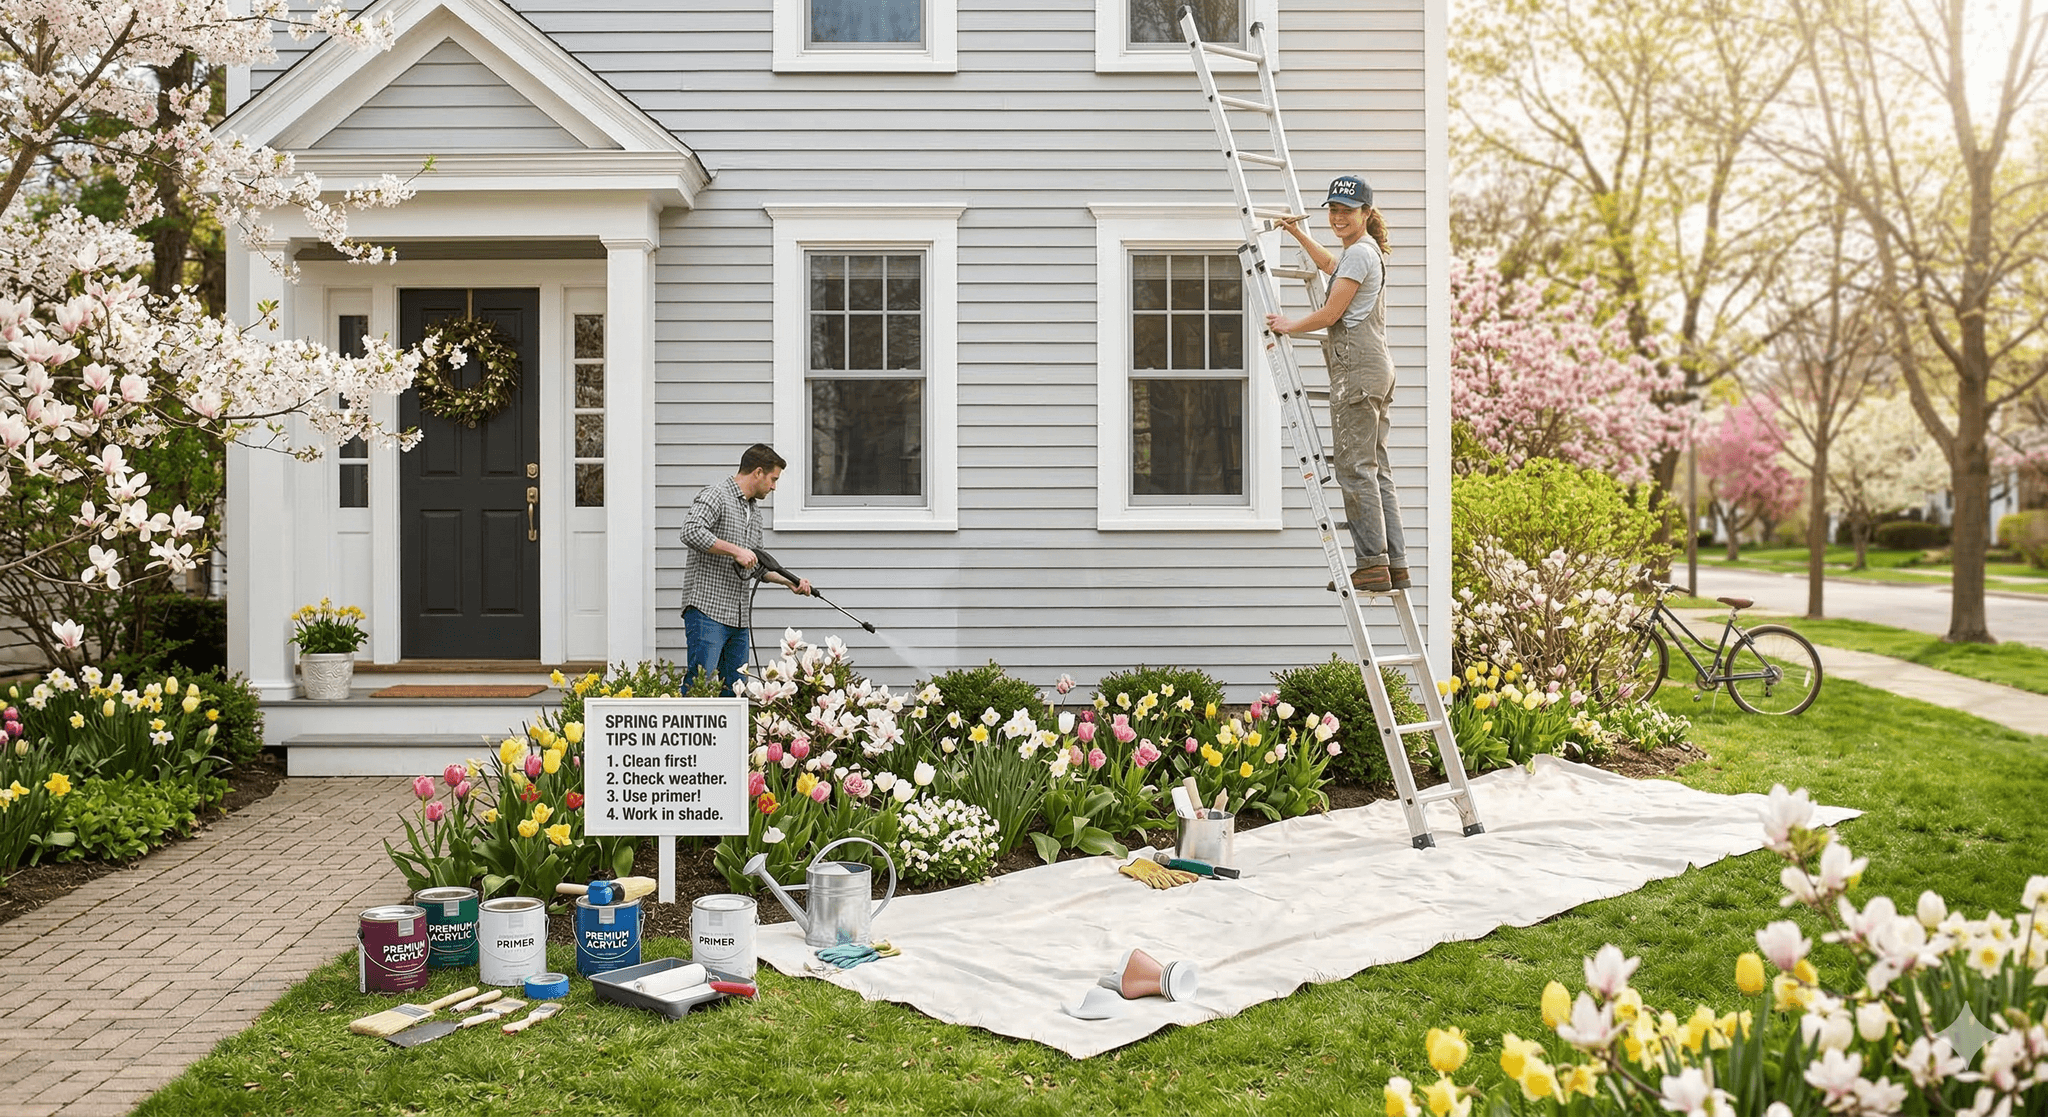
Essential Preparation Steps
Inspect and Repair Surface Damage
Once surfaces are clean and dry, carefully inspect all areas for damage. Look for cracks, holes, and rotted wood that need attention before painting. Use a quality wood filler or exterior spackling compound to patch holes and cracks, allowing adequate drying time as specified by the manufacturer.
Scrape and Sand
Remove any remaining loose or peeling paint with a paint scraper, working systematically across all surfaces. Follow up with sandpaper (80-120 grit works well) to smooth rough edges and create a surface that paint can properly adhere to. Pay special attention to areas around windows, doors, and trim where paint buildup is common.
After sanding, wipe down all surfaces with a damp cloth or tack cloth to remove dust particles. This step is essential—any remaining dust will prevent proper paint adhesion and create an uneven finish.
Prime Bare Surfaces
Any bare wood or surfaces where you've scraped down to the substrate must be primed before painting. Primer serves multiple critical functions: it seals porous surfaces, prevents stains from bleeding through, and provides a uniform base for your topcoat to adhere to.
Choose a primer appropriate for your surface type. For exterior wood, use an oil-based or high-quality acrylic primer that offers moisture resistance. If you're dealing with stains from water damage, knots, or tannins, opt for a stain-blocking primer to prevent discoloration from showing through your finish coat.
Apply primer evenly using a brush for detailed areas and a roller for larger flat surfaces. Don't skip this step on patched areas—even if the surrounding paint is in good condition, any repairs need primer to ensure color consistency and proper adhesion. Allow the primer to dry completely according to manufacturer instructions, typically 24 hours, before applying your topcoat.
Choosing the Right Paint and Tools
Select Quality Exterior Paint
Investing in high-quality exterior paint pays dividends in longevity and appearance. Look for 100% acrylic latex paint for most residential applications—it offers excellent durability, flexibility, and resistance to fading and mildew. Check the paint label for features like UV protection and mildew resistance, which are essential for exterior applications.
Consider the sheen level based on your surface. Satin or semi-gloss finishes work well for trim and doors as they're easier to clean and more durable, while flat or low-luster finishes are typically better for siding as they hide surface imperfections.
For color selection, lighter colors reflect heat and tend to last longer in sunny climates, while darker colors absorb heat and may fade more quickly. If you're changing colors dramatically—especially going from dark to light—plan on applying an additional coat to ensure complete coverage and true color representation. Pay attention to temperature ratings on paint cans. Most exterior paints perform best when applied in temperatures between 50°F and 85°F with low humidity. Spring weather can be unpredictable, so check the forecast and choose a stretch of dry days for your project.
Gather Professional-Grade Tools
The right tools make a significant difference in both the ease of application and the quality of your results. For brushes, invest in high-quality synthetic bristle brushes (2-3 inches for trim, 4 inches for larger areas) designed for latex paint. Natural bristle brushes are for oil-based products only. For rollers, choose a nap thickness appropriate to your surface texture: 3/8-inch nap for smooth surfaces, 1/2-inch for medium textures, and 3/4-inch or thicker for rough surfaces like stucco or textured siding. Don't forget roller frames, extension poles for hard-to-reach areas, and quality paint trays with liners for easy cleanup. Other essential tools include:
- Drop cloths or plastic sheeting to protect landscaping and hardscapes
- Painter's tape for clean lines around windows and trim
- Paint sprayer (optional, but efficient for large siding areas)
- Ladder or scaffolding rated for your weight plus materials
- Safety equipment: gloves, safety glasses, and dust masks
- Caulk and caulking gun for sealing gaps and joints
- Putty knife or scraper for surface preparation
- Stir sticks for thoroughly mixing paint
- 5-in-1 painter's tool for scraping, cleaning, and opening paint cans Before starting, organize your workspace and ensure all tools are clean and in good working condition.
- Having everything ready before you begin will help maintain momentum and ensure you can work efficiently during optimal weather conditions.
Painting Techniques for Best Results
Work from Top to Bottom
Always start painting at the highest points of your home and work your way down. This approach allows any drips or splatters to fall onto unpainted surfaces where they can be easily incorporated or wiped away. Begin with soffits and fascia boards, then move to siding, and finish with trim, doors, and foundation areas.
Apply Paint Properly
For brush application, load your brush by dipping it about one-third of the way into the paint, then tap (don't wipe) excess against the inside of the can. Apply paint using long, smooth strokes, working the paint into the surface rather than just laying it on top. Maintain a wet edge by overlapping each stroke with the previous one while the paint is still wet to avoid lap marks. When using a roller, load it evenly by rolling it in the paint tray, then rolling off excess on the tray's ridged area. Apply paint in a "W" or "M" pattern, then fill in the gaps without lifting the roller. This technique ensures even coverage and prevents roller marks.
Plan for Multiple Coats
Most exterior painting projects require at least two coats for optimal coverage and durability. Allow the first coat to dry completely—typically 4-6 hours for latex paint, but check manufacturer recommendations as drying times vary with temperature and humidity. Inspect the first coat once dry and lightly sand any drips or rough spots before applying the second coat.
Timing and Weather Considerations
Spring weather can be ideal for painting, but it requires careful planning. Avoid painting in direct sunlight, as this causes paint to dry too quickly, leading to poor adhesion and visible brush marks. Early morning or late afternoon often provides the best conditions. Never paint when rain is forecasted within 24 hours, as moisture can ruin fresh paint. Similarly, avoid painting on windy days when dust and debris can blow onto wet surfaces. Morning dew is another consideration—wait until surfaces are completely dry before beginning work, typically mid-morning in spring. By following these preparation steps, using quality materials and tools, and applying proper painting techniques, your spring painting project will result in a beautiful , long-lasting finish that protects your home and enhances its curb appeal for years to come.
Post-Painting Cleanup and Maintenance
Proper Cleanup
Once your painting project is complete, thorough cleanup ensures your tools remain in good condition for future projects. For latex paint, clean brushes and rollers immediately with warm, soapy water, working the bristles or nap until the water runs clear. Reshape brush bristles and allow tools to dry completely before storing.
Dispose of paint responsibly—never pour it down drains or into the ground. Latex paint can often be dried out and disposed of with regular trash, or take it to a household hazardous waste facility. Store leftover paint in a cool, dry place, ensuring lids are tightly sealed. Label cans with the color name, room or area painted, and date for future touch-ups.
Maintain Your Fresh Paint
To maximize the life of your new paint job, perform regular maintenance. Inspect painted surfaces annually for signs of wear, peeling, or damage. Address any issues promptly with touch-ups to prevent moisture infiltration and more extensive damage.
Clean painted surfaces gently once or twice a year using a soft brush or low-pressure water spray to remove dirt and mildew. Avoid harsh chemicals or high-pressure washing, which can damage the paint film. Keep gutters clean and properly functioning to prevent water overflow that can stain or damage painted surfaces.
Trim vegetation away from painted surfaces to allow proper air circulation and prevent moisture buildup. With proper care and maintenance, a quality exterior paint job should last 7-10 years or more, protecting your investment and keeping your home looking its best.
Seasonal Inspection Checklist
Establishing a routine inspection schedule helps you catch potential problems early and extend the life of your paint job. Each season presents different challenges for exterior paint, making regular checks essential.
Spring Inspection
After winter weather, inspect for any damage caused by ice, snow, and freezing temperatures. Look for:
- Cracks or splits in caulking around windows and doors
- Peeling or bubbling paint from moisture infiltration
- Mildew growth in shaded or damp areas
- Damage to wood surfaces from ice dams or heavy snow Address any issues immediately to prevent further deterioration during the active growing season.
Summer Inspection
Hot, sunny weather can take its toll on exterior paint. Check for:
- Fading or chalking on south and west-facing surfaces
- Cracking or alligator Ing in areas exposed to intense sun
- Separation of caulk joints due to expansion and contraction
- Insect damage or nests that may compromise painted surfaces
Fall Inspection
Prepare your home's exterior for winter by conducting a thorough fall inspection:
- Clean gutters and downspouts to prevent water damage
- Check for any areas where paint has worn thin
- Seal any gaps or cracks before cold weather arrives
- Remove any mildew or organic growth before it becomes dormant
Winter Monitoring
While you may not perform detailed inspections in harsh winter weather, watch for:
- Ice dam formation that could damage paint and wood
- Excessive moisture or condensation on exterior surfaces
- Storm damage from wind, hail, or falling branches By staying proactive with seasonal insp ections, you can address minor issues before they become major repairs, saving time and money while preserving your home's appearance.
Safety Considerations
Exterior painting involves working at heights and with potentially hazardous materials, making safety precautions essential for every project.
Ladder and Height Safety
Falls from ladders are among the most common painting-related injuries. Always use a ladder rated for your weight plus the weight of your materials—typically a Type I (250 lbs) or Type IA (300 lbs) industrial-rated ladder. Inspect ladders before each use for cracks, loose rungs, or damaged feet. Position extension ladders at the proper angle: the base should be one foot away from the wall for every four feet of height. Ensure the ladder extends at least three feet above the roof line if you're accessing the roof. Never stand on the top two rungs, and maintain three points of contact (two hands and one foot, or two feet and one hand) at all times. For extensive projects, consider renting scaffolding, which provides a more stable work platform and reduces the need to constantly move a ladder. Always have someone nearby when working at heights, especially on tall ladders.
Personal Protective Equipment
Protect yourself with appropriate safety gear throughout your painting project:
- Safety glasses or goggles to protect eyes from paint splatters, especially when working overhead
- Dust masks or respirators when sanding or working with primers that emit fumes
- Gloves to protect skin from paint and chemicals
- Long sleeves and pants to minimize skin exposure
- Non-slip footwear with good traction for ladder work
- Sun protection including hat and sunscreen for extended outdoor work
Chemical and Material Safety
Read and follow all manufacturer safety instructions on paint, primer, and solvent labels. Work in well-ventilated areas, even outdoors, particularly when using oil-based products or primers with strong fumes. Keep paint and solvents away from heat sources and open flames. Store all materials safely out of reach of children and pets. If you experience dizziness, headaches, or nausea while painting, take a break in fresh air immediately. Seek medical attention if symptoms persist.
Electrical Hazards
Be aware of overhead power lines when moving ladders or working at heights. Maintain at least a 10-foot clearance from power lines. If you must work near electrical service connections, contact your utility company for guidance or to temporarily disconnect service. Cover outdoor electrical outlets and fixtures with plastic sheeting and painter's tape to prevent moisture intrusion. Never paint in wet conditions or when standing on wet surfaces near electrical sources.
Common Mistakes to Avoid
Even experienced DIYers can fall into common painting pitfalls. Being aware of these mistakes helps ensure a successful project.
Skipping Surface Preparation
The most frequent mistake is inadequate surface preparation. Rushing through cleaning, scraping, and priming may save time initially, but results in poor adhesion, premature peeling, and an unprofessional appearance. Proper preparation accounts for 70-80% of a successful paint job.
Painting in Poor Weather Conditions
Ignoring weather guidelines leads to numerous problems. Painting when it's too cold causes slow drying and poor film formation. Painting in high humidity or before rain can result in water spots, streaking, and adhesion failure. Always check the extended forecast and follow manufacturer temperature and humidity recommendations.
Using Cheap Materials
Low-quality paint and tools are false economies. Bargain paint often requires additional coats, doesn't last as long, and provides inferior protection. Cheap brushes shed bristles and create an uneven finish. Invest in quality materials for better coverage, durability, and overall results.
Improper Paint Application
Applying paint too thickly causes drips, sags, and extended drying times. Conversely, spreading paint too thinly results in poor coverage and inadequate protection. Follow manufacturer recommendations for coverage rates and film thickness.
Neglecting Caulking
Failing to caulk gaps and joints before painting allows moisture infiltration, leading to paint failure and wood rot. Always caulk around windows, doors, trim joints, and any gaps in siding before painting. Use a high-quality, paintable exterior caulk designed for your climate.
Conclusion
A successful spring exterior painting project requires careful planning, proper preparation, quality materials, and attention to detail. By following the steps outlined in this guide—from thorough surface preparation and primer application to proper painting techniques and ongoing maintenance—you'll achieve professional-looking results that protect and beautify your home for years to come. Remember that patience is key. Don't rush through preparation steps, and allow adequate drying time between coats. Monitor weather conditions carefully and be willing to adjust your schedule for optimal painting conditions. With the right approach, tools, and techniques, your spring painting project will enhance your home's curb appeal, increase its value, and provide lasting protection against the elements. Whether you're refreshing existing colors or completely transforming your home's exterior, the investment of time and effort will reward you with a beautiful, durable finish that you can take pride in for many years to come. By taking on this project during the ideal spring season, you've set yourself up for success. The moderate temperatures, manageable humidity, and longer daylight hours provide perfect conditions for achieving a flawless finish. As you step back and admire your completed work, you'll appreciate not only the transformed appearance of your home but also the knowledge that you've properly protected one of your most valuable assets from weather, moisture, and the wear of time. Should you encounter any challenges or have questions during your project, don't hesitate to consult with paint professionals at your local home improvement store. They can provide guidance on product selection, troubleshooting specific issues, and techniques for addressing unique situations your home may present. Happy painting, and enjoy the renewed beauty of your home this spring and beyond!